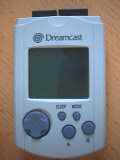
MoPoMODThe More Power MOD for VMU using external batteries or AC adapter. Why?In case you ever walked around with your VMU in the pocket playing games from time to time you should have noticed that the two very expensive batteries inside the VMU power down much too fast. Games for the Visual Memory Unit that make use of a lot display activities like So when you are playing a lot, you have to change the batteries very frequently. To avoid ever buying new batteries, just do this simple modification to your VMU. Prenotes:This MOD does not make use of soldering. So there is no risk to damage things while soldering. You can remove the MOD everytime without lasting visible damages. FYI: later there has been a similar mod called "VMU 4AA MOD", but this one is already gone (offline). How To:What you need #1: a Visual Memory Unit, of course.
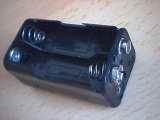
What you need #2: such a battery holder for 4 batteries of type MIGNON (or AA or R6 or whatever), have a closer look at the connector...
What you need #3: 4 batteries, the older the better: even if the power is too low for every other thing(walkman...), it'll be enough to power your VMU for the rest of your life.
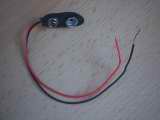
What you need #4: such a cable that's capable to plug into the connector of the battery holder above.
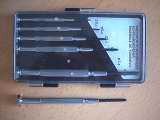
What you need #5: a screwdriver that fits to the screws on the back of the VMU.
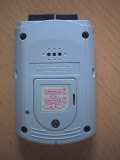
Now we start the MoPoMOD: turn the VMU so that the backside is facing you.
Make sure that there are no batteries in your VMU (if neccessary, open the battery case and remove them), they could explode when the MoPoMOD is finished.
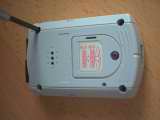
Then remove the 4 screws at the edges of the VMU.
Open the back case very cautious to not cut the cable connection between the speaker and the main unit.
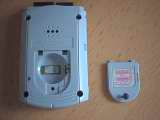
Before installing the battery cable, we have to make an exit for it.
The bottom of the VMU (left side in picture) there is a place to cut a little edge out of the case so that the damage is not visible from the outside (if you want to remove the MoPoMOD sometime).
Here you can see the cut I've made at the bottom of the picture.
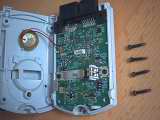
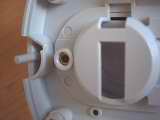
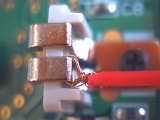
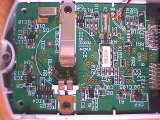
Now we concentrate on the right hand side of this region of the main unit of the VMU to apply the cable connection to the outside:
Try to connect the red cable like shown in this picture, don't be sceptical, if you have done it right, the cable is closely enough connected so that the connection does not break when you use your VMU after finishing the MoPoMOD.
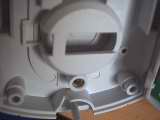
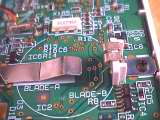
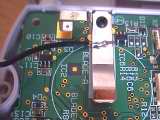
To connect the black cable, we concentrate on the upper region of this area:
Fix the cable under this metal connector, be sure that it is outside the white circle line, otherwise you will get problems closing the case of the VMU.
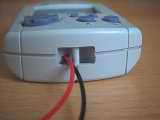
After installing the red and black cables, cautiously close the back case of the VMU and make sure the cables don't get squezzed.
That is what your VMU looks like now.
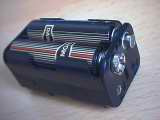
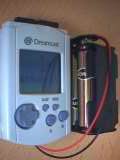
Insert the batteries into the battery case. Pay attention to insert them as shown on the label inside the case.
Finally connect the battery case connector with the cable connector coming out of the VMU.
Sure, the cable is quite short and the battery case is some kind of heavy. Another possibility is to take batteries of the next smaller type (MICRO, AAA, ...). The battery case for those batteries is more flat and as wide as the VMU itself.
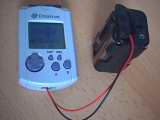
It's done! After the power connection is up the VMU beeps and you'll have to input the date and time.
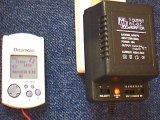
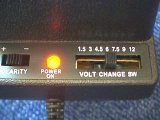
Now because of the connector we used, you can even use an AC adapter instead of a battery pack:
|
 Alien Fighter